Blank walls intimidate the heck out of me. Like this one in my office that I’ve been staring at all year long. But no longer. I’m bidding it a fond farewell.
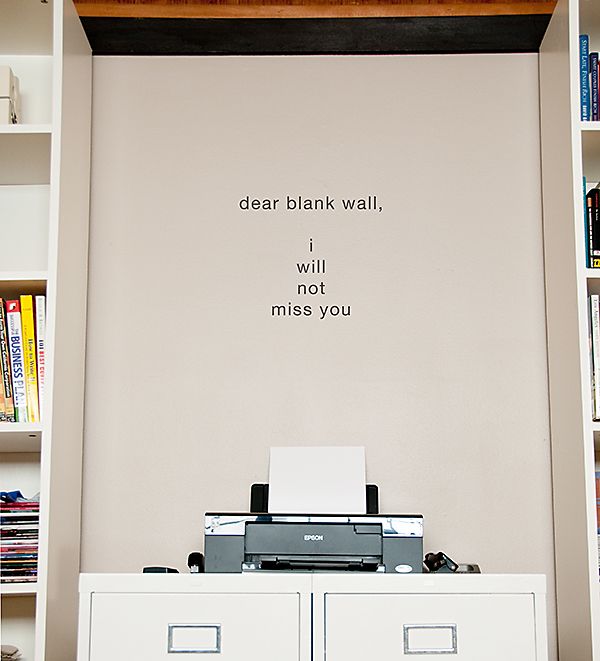
Good bye boring blank wall, hello mosaic of photos.
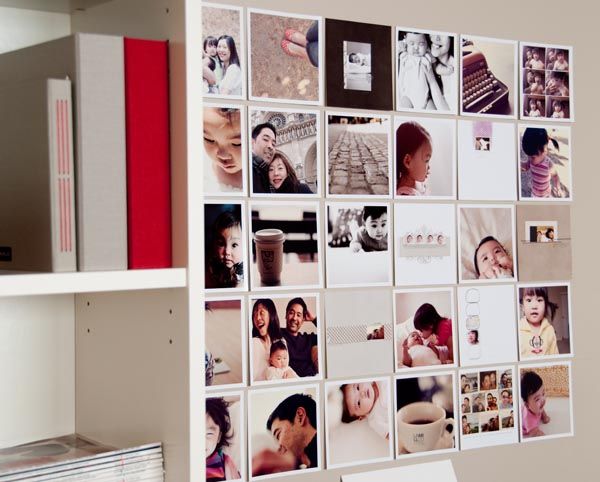

I got this idea from Domino (oh how I miss that magazine) + Rita Konig’s collection of photos (Oct 2008 issue).
The photos are 5×5 in size (printed through
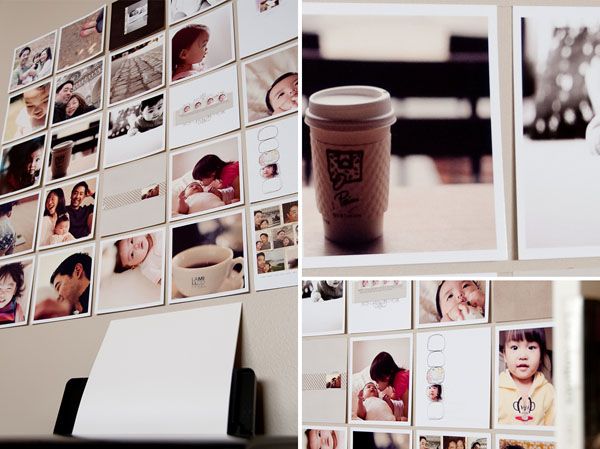
whcc). I decided to go with a square format so I could include both photos and layouts in the mosaic arrangement. All of the photos were printed with a white border. I like how the white borders “frames” each individual photo and also acts as an anchor, visually bringing together all of the photos. The layouts were printed without the borders.
Below is a template so you can easily create your own mosaic wall display. It’s 5×7 in size and includes the white border, a clipping mask, and also the cut lines. If you choose to get them printed as 5×5′s you won’t need the cutting guides, but these will definitely come in handy if you’re printing them as 5×7′s.
note: if you don’t want the white border edges for your layouts, don’t use the clipping mask included in the template. Instead, resize your layout (to 5×5, 300dpi), then drag and drop your layout file to the template while holding down your SHIFT key (holding down the shift key ensures that the file is centered with the document).
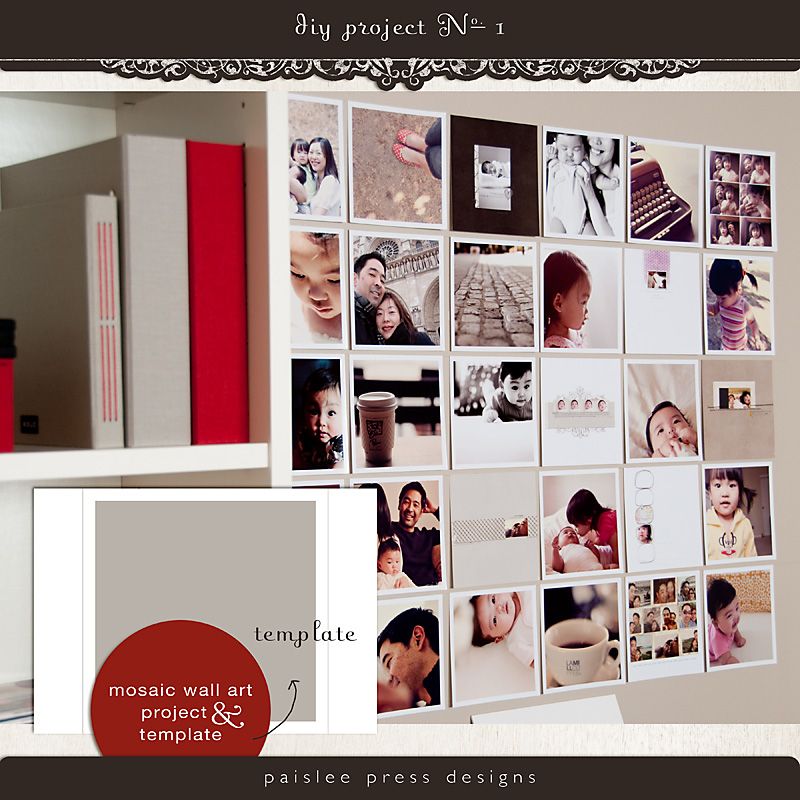
download template
Enjoy the free download! If you use it to create a wall project, I’d love to see it. Upload them to the
paislee press flickr group.
eta – updated with instructions per reader request
 These are the materials I used to assemble the wall display:
1. a leveler (+ pencil)
2. mounting squares*
Tip 1: define your space
The first time I assembled the photo wall, I “eyeballed” the positioning and the entire arrangement ended up looking like the leaning tower of pisa. So, I (carefully) peeled off the photos and drew horizontal guide lines on the wall using a leveler and pencil. If you’re really good with eyeballing/guess-timating, then you can feel free to skip this step.
Tip 2: adhering photos to wall
I used double sided mounting squares to stick the photos to the wall. No specific reason for using this adhesive over another except that they were in my stash of craft supplies (left over from my paper scrapping days) and readily available. Place mounting squares along the entire top edge of the photo, then place on the wall.
*update: the double sided mounting squares didn’t work for long. I ended up replacing them with poster strips by 3M – and they are AMAZING.


 These are the materials I used to assemble the wall display:
No comments:
Post a Comment