DIY Duvet Cover Tutorial

If you bought a crib set you probably have an unused comforter lolling about in a closet somewhere. Now that Scarlet is in her toddler bed I deem the comforter safe for her, so I sewed a sweet duvet cover using this beloved fabric: Alexander Henry Bird Seed in Yellow that I picked up at favorite fabric resource Fabricworm.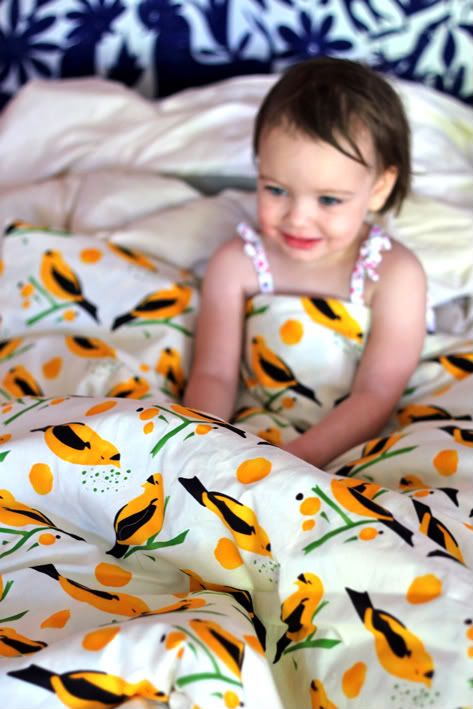
Making a duvet cover is a simple beginner sewing project with an added bonus: when your child moves into a big-girl bed you can re-use the fabric for some other cuteness. If you want to sew a duvet for a twin, full, queen, or king size bed, this same method applies and I'll share the measurements with you and the full DIY Duvet Cover Tutorial after the jump...
How to Sew a Duvet Cover
1. First determine your measurements. I've detailed them for each size below, but if you want to understand how I came to them, I'll describe: You'll need a top and bottom for your duvet each with 1" added to the width for a 1/2" seam allowance on both sides. Then you'll need to add 1.5" to the length for seam allowance, plus 6" for our closure area. For sizes larger than a toddler bed duvet you will need to sew yardage together along the length to get a piece of fabric wide enough to meet these measurements (or use a sheet). These are standard measurements, but bedding tends to vary so just measure yours first to be sure it will fit!
Toddler Bed – Final Dimensions 33" X 42" (two pieces 34"X49.5")
Twin – Final Dimensions 72" by 90" (two pieces 73"X97.5")
Full – Final Dimensions 84" by 96" (two pieces 85"X103.5")
Queen – Final Dimensions 90" by 102" (two pieces 91"X109.5")
King – Final Dimensions 102" by 108" (two pieces 103"X115.5")
2. Pre-wash, iron, and cut your fabric to size.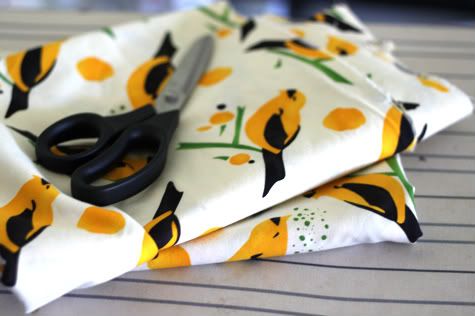
3. Let's start by creating our snap closure. You can sew on snaps, but why, when it's so easy just to hammer them in place with an inexpensive snap kit. Fold one of the width sides in 1/2" (to the wrong side) and iron, then sew in place. Then fold again 3.5" to the wrong side and iron in place.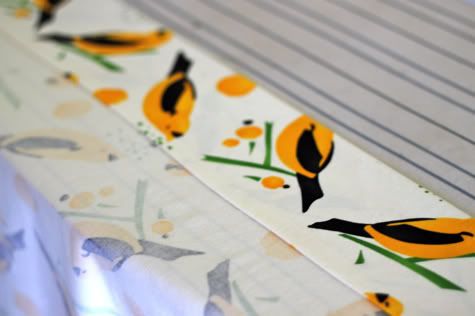
Measure 1/4 of the way in on each side and mark (on my toddler duvet cover, that's 8.5"):
Measure 2" down from the fold and draw a line between your two marks. Measure in 3" and 6" from each side on the line and mark an X (for bigger duvet covers you'll obviously need to add more marks and more snaps):
Using your snap kit, attach snap backings to the right side of the fabric at those marks. Don't attach them through both layers! Just the folded bit!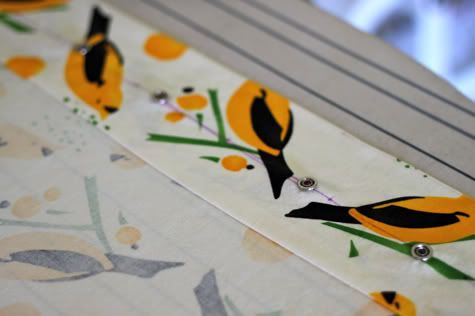
Repeat the entire process on the other side of your duvet (Make sure your patterns are pointing the direction you want before you start!), this time attaching snap fronts: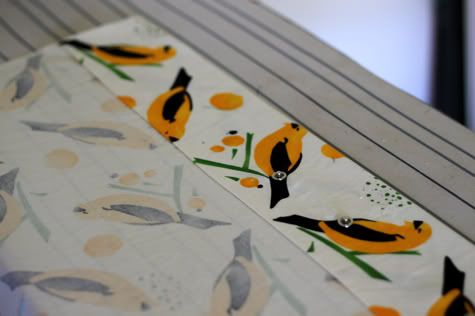
4. Take your two duvet pieces and pin them together right sides facing, with the folded edges on the same side, so the fabric snaps face up: 
Starting at your mark (1/4 of the way in on the snap side), sew the two sides together with 1/2" seam allowance, sewing all the way around and back to your other mark. Clip the corners and finish your unfinished edges by serging, sewing with a zig zag stitch, or cutting with pinking shears. Turn your duvet cover right side out and iron. Stuff with comforter. The snap side goes on the bottom, FYI, not up by your face: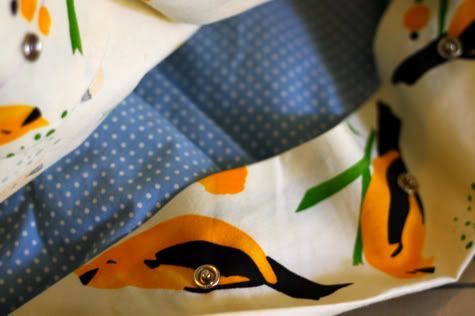
You're done: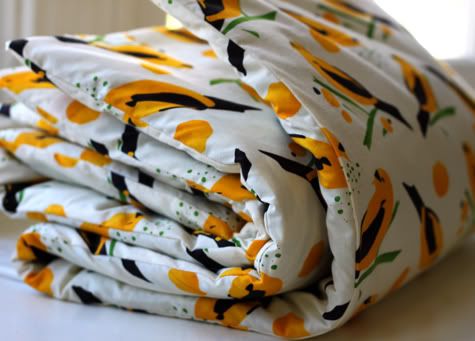
Time for snuggling!
No comments:
Post a Comment